Hello everyone
here is a moving mod using the example of the upper exit hatch of the Millennium Falcon.
you need:
the hatch, this I got from Shapways, the designer is Sonic Sun.
A Microservo SG90, a few LED Strips, an Arduino relay module to control the leds. At the time of construction I didn't understand too much about the Arduino programming and therefore got a servo driver board, here the link
https://www.leds-and-mor...vgjdogk4e2q06oa8u5q91b6
With the module you can control 2 servos without programming anything or similar, only adjust the servo path and at the push of a button these controls.
Now for construction in the Falcons:
How did I come up with the idea; when you deal with a model you inevitably get various books and information in your hand or on the monitor. For the research I usually get this information.
The upper exit hatch is from the Owners Manual of the Millenium Falken,
https://www.jedipedia.ne..._-_Millennium_Falke.jpg

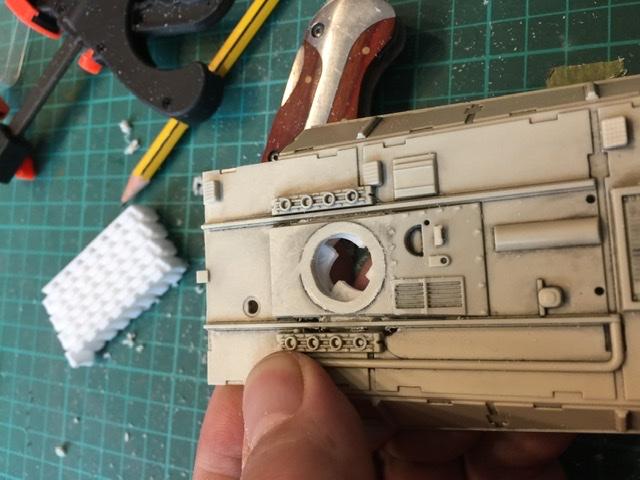
then I took the corresponding sleeve part of the Millenium Falcon and cut off the casting frame at the place where the hatch is inserted,


The hole for the hatch milled out,

and from the bottom space created for the iris mechanism,

the ring above also had to give way,

and a sample of whether the hatch fits,
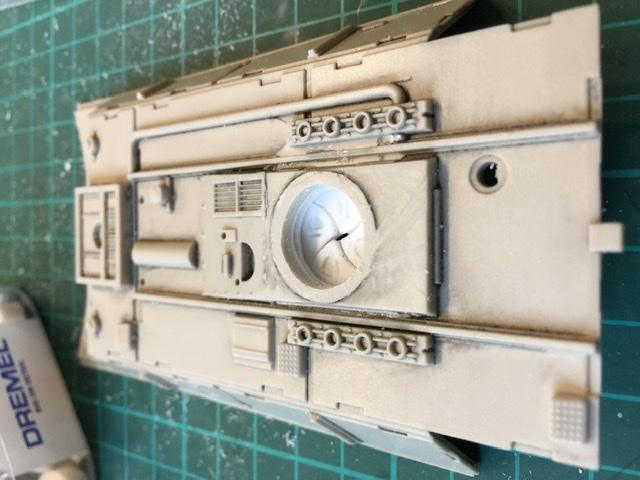
so that the underside where the hatch is fixed is smooth, I have fitted a piece of plastic plate,

fits,


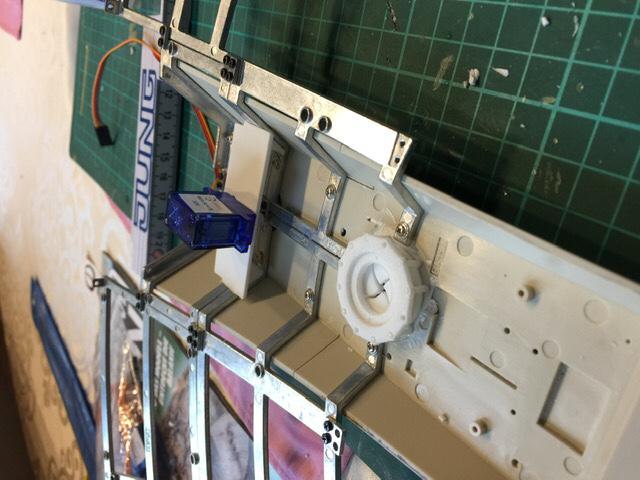
now the conditions are created to install the movement mechanism, I have decided for an art-off construction, at the first try I have found that this was not such a good idea

servo on the plastic construction and fixed,

for the optics from the outside, I immediately ordered the ascent tube and put it up for the sample,

then primed the sleeve part black, that I made, so that no light shimmers through from below, in places where it should not,

times a light sample,

ok, so also black primed from the inside, now the seal is


the sleeve part with Insignia White is given the basic color,

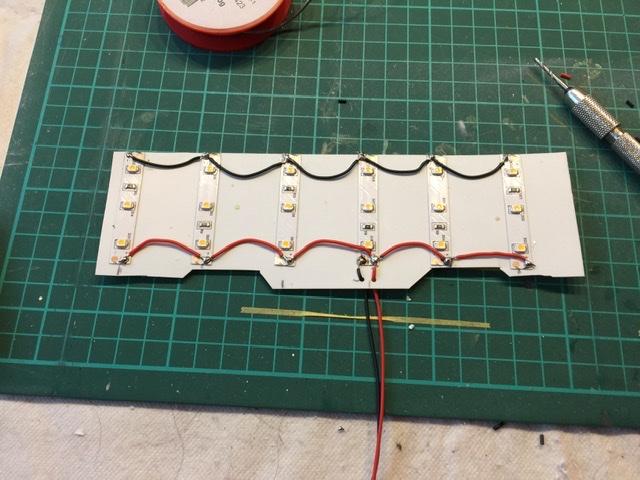
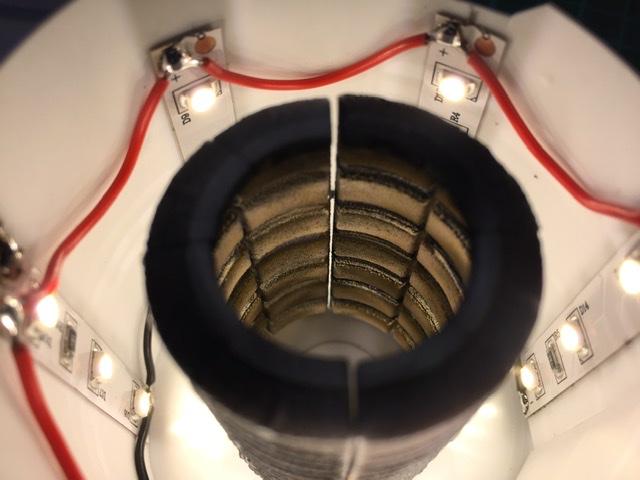
and the ascent tube painted, and the LED strips glued to a plastic plate, these are supposed to illuminate the entry hatch from below. I have cut them so that they reach over the tube and afterwards
wrapped around, so to speak,

the whole wired, important, do not confuse plus and minus, otherwise the do not light up,
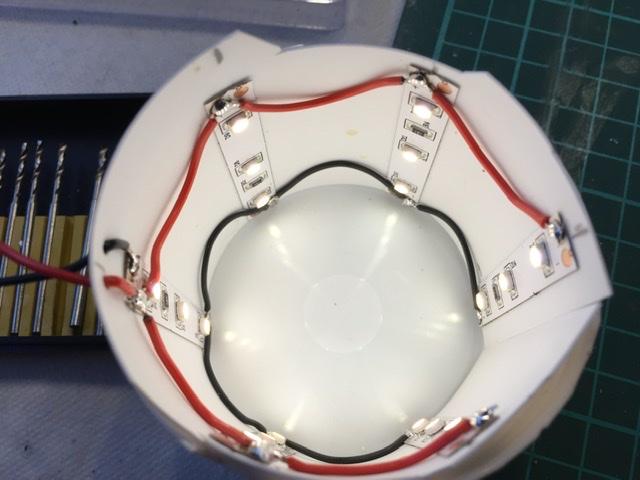
times ne sample made, somewhat bright, heist, just nen dimmer between soldering,
thus, the lighting effects can be adapted in different places to the requirements and the general overall picture,
here is a link to the dimmer,
https://www.ebay.de/itm/...770c:g:jGcAAOSwlVRfK~2X
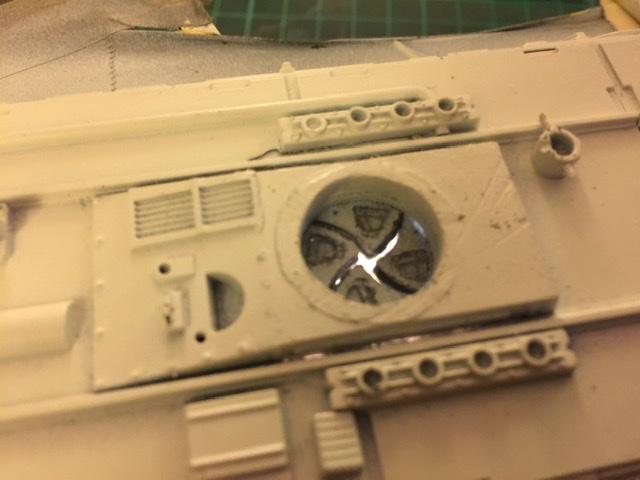
therefore, the lighting for the exit hatch is ready,

to be seen from the outside here,


Chewie has also been joking about whether he'll get out there at all

with closed hatch, there the light still shimmers through, but there was another solution,
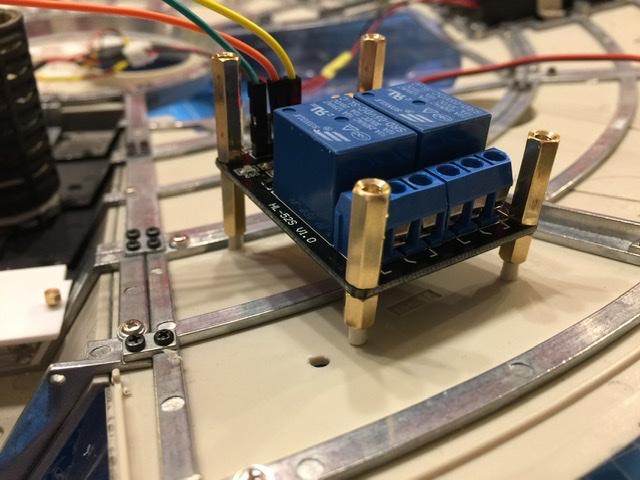
here the servo control board, I have fixed it firmly to the inside, so that the electronics do not fly around uncontrollably in the case and perhaps cause a short circuit,

again from near,

tested the servo,

I am of the board you can additionally output at the end position of the servo a signal for the end point, so I have controlled the lighting via a relay that is heist when the servo opens the hatch is simultaneously given a voltage on the relay and the light goes on, the servo turns in the other direction, the hatch is closed the light is switched off , so no light shimmers through the closed hatch

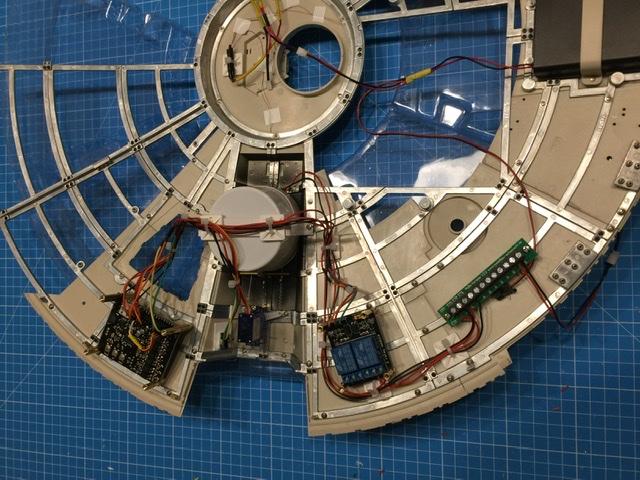
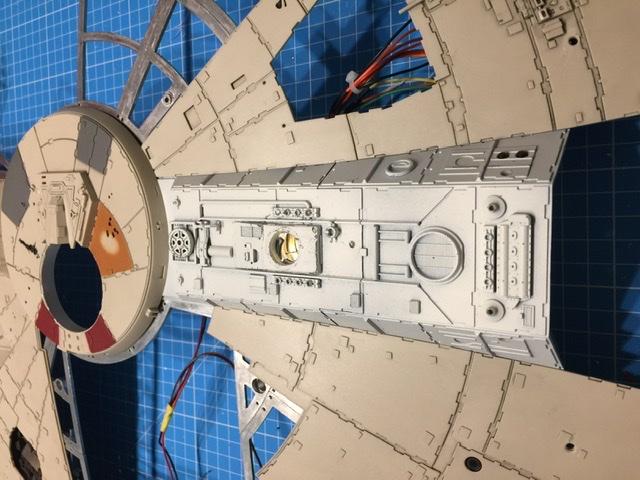
this is what it looks like from above,

now that the plastic holder was not a good idea, if the servo worked, the plastic holder has bent. Furthermore, the cable rope (with me floss
) has not been attached to the servo.
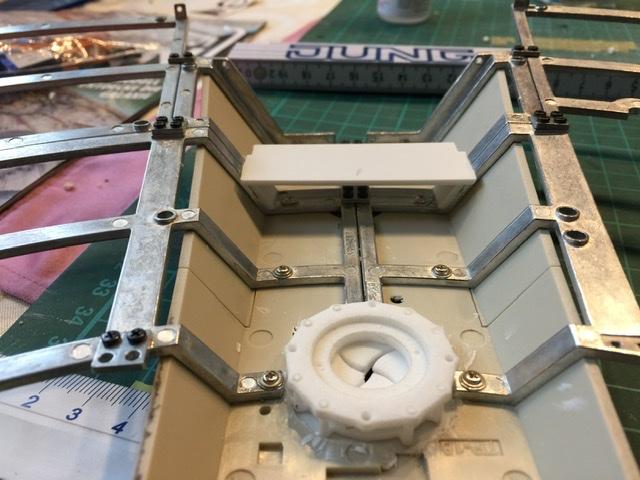
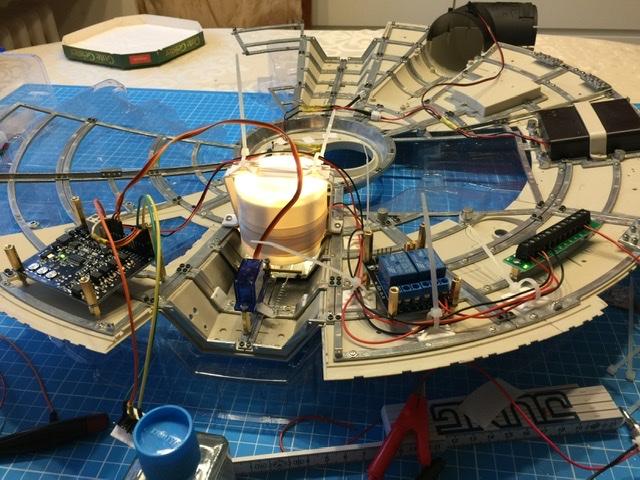
Thus, I took 2 board holders and attached them in the casting frame, cut the threads with a thread edible cutter,

the first board holder,

so that the connection of the cable is a bit flexible, I took a ballpoint pen spring and put it as a buffer between, otherwise the cable could tear off,


since the rope mechanism at the Lucke is very far down, I used a brass tube to deflect the rope a bit, as the servo could not be mounted so low,

since the whole construction is mounted on the upper shell, I have fixed all the parts accordingly, here the handle for the light installation,
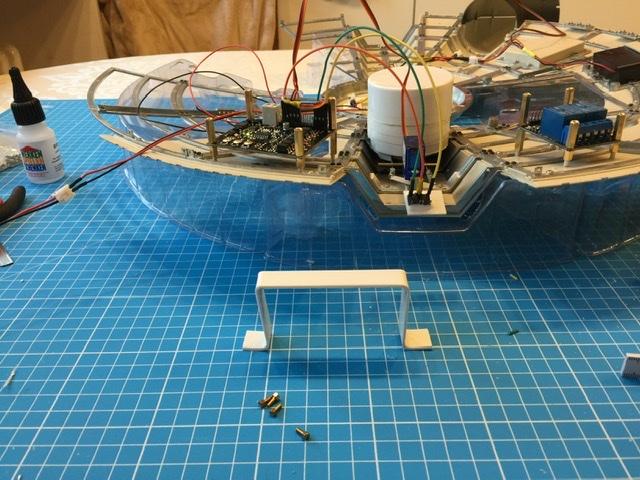
mounted here,


and tested,
I have taken 2 microbuttons so that I can control the exit hatch,

and integrated into the outer shell,

now make all cables neat, that no line breaks or is in the way during the further construction of the falcon,

here what you can still see at the end of the whole construction and mechanics, only the hatch


 Here is a video of how the hatch works,
https://youtu.be/rDwQvSEVWEw I hope that tutorial has pleased you and have fun recreating
I wish you a nice evening and stay healthy.
Greetings from Berlin, Stefan
Alle Berichte sowie alle Fotos unterliegen dem Urheberrecht. Verwendung außerhalb dieses Forums bedürfen schriftlicher Genehmigung/Zustimmung meinerseits. © StefanForum Support Teamhttp://www.model-space.com/de/
https://m.youtube.com/watch?v=qIC4f1LE86w
MfG Stefan

 UK
UK

