|
|
 Rank: Master       Groups: Registered
Joined: 05/09/2012 Posts: 1,400 Points: 4,690 Location: Beaminster, Dorset
|
Tomick wrote:No need to contact C/S. I've put it under the nose of Admin, but can you PM Admin with your account detail for your Samurai so that you account can be pinpointed. That's really helpful Mr T, I have sent a PM to Admin, many thanks.
|
|
|
 Rank: Master       Groups: Registered
Joined: 05/09/2012 Posts: 1,400 Points: 4,690 Location: Beaminster, Dorset
|
My problem part is in Pack 4 so I'm able to get on with Packs 1, 2 & 3. Assembling the Mask Plate (Hōate) Fairly straightforward two ears, a drain tube and two posts with plates to add. I used Gel Super Glue for all these parts. The only problem I found, was that the pegs on the Ears were too tight for the holes, but a little careful scraping with a scalpel fixed this. I think as suggested elsewhere Gloves might be a good idea as the shiny black finish shows fingerprints very well. I have plenty of Latex and Vinyl Gloves as we use them on the Farm, but I prefer White Cotton ones for this kind of work. 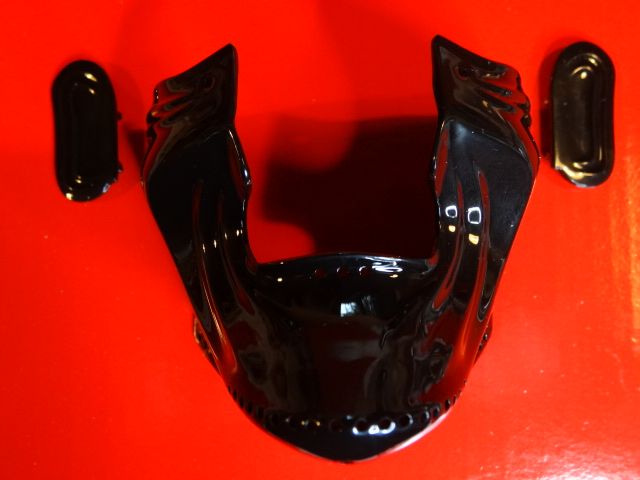 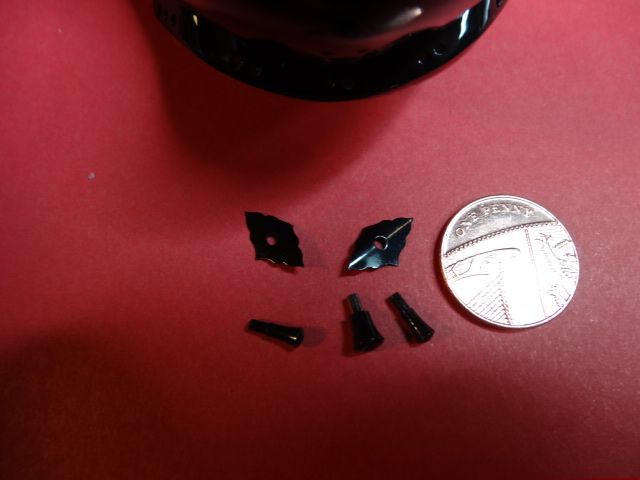 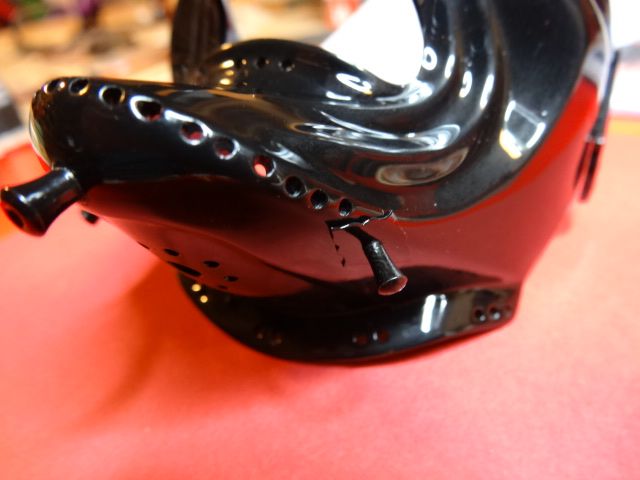 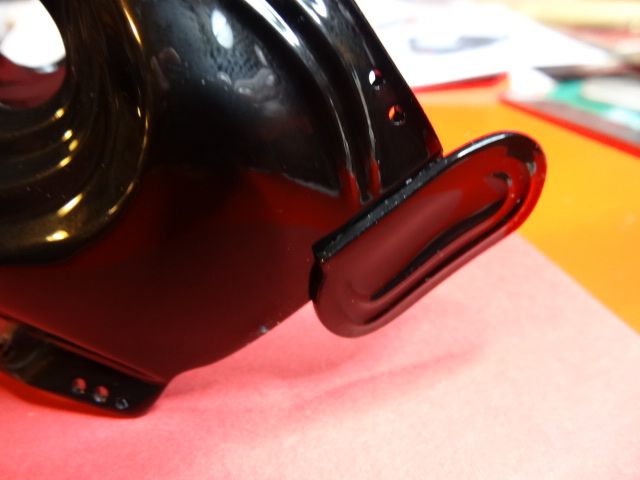
|
|
|
 Rank: Master       Groups: Registered
Joined: 05/09/2012 Posts: 1,400 Points: 4,690 Location: Beaminster, Dorset
|
The Helmet (Kabuto)The First Stage was to assemble the Rim which comes in 2 pieces, as before I am using Super Glue Gel. I then fitted the 2 halves of the Bowl together, these are not glued but held together by a plate and 2 M2 screws. Next I added the 4 Helmet Rivets, these are very difficult to hold, hence the recommended method of using Masking Tape. I found it was better to trim this back to just enough to hold the Rivet, as the weight of the larger piece of Tape meant the Rivet did not stay as placed whilst the glue cured. I use Microscope Slides for handling Super Glue, it seems to stay liquid on the glass for longer. A box of 50 is very cheap, as long as you don't buy the ones with ground edges. The Helmet was then attached with glue to the Rim. This part alone already weighs over 400g. Part Count to date is 18. My thoughts so far on the build are; The Parts are all of very good quality, with a very nice weight and feel to them. There are both more parts than I expected and much smaller detailed parts than I realized. The Assembled Parts have a real aesthetic beauty to them, which the photos really don't do justice to and I think this is going to be as much a piece of Art as a Model. Photographing Reflective Shiny Black is tricky. My other half wandered in to my 'den' and exclaimed without prompting 'that's really attractive', not something I normally hear   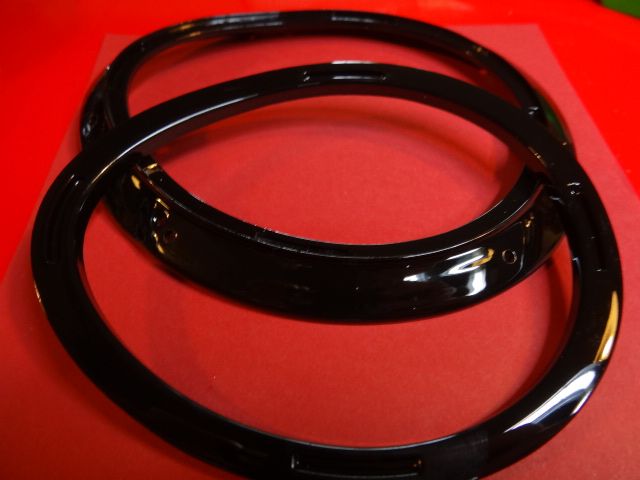 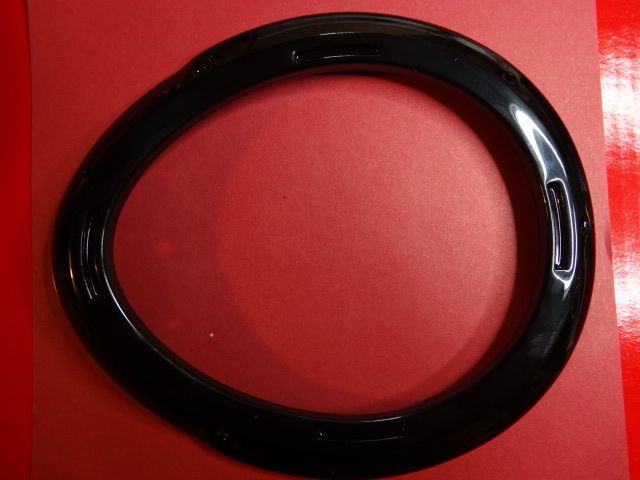 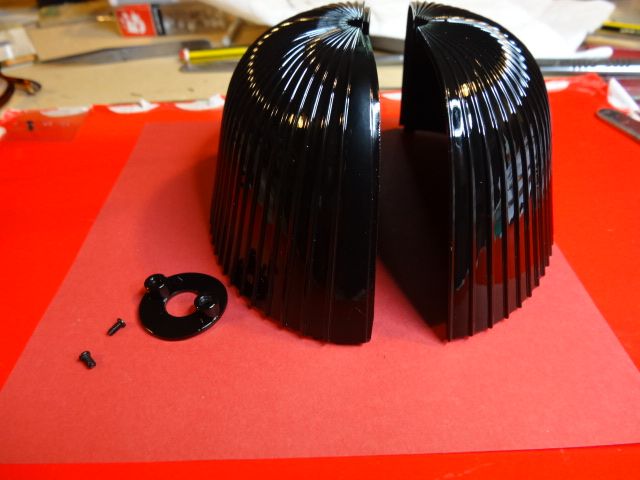 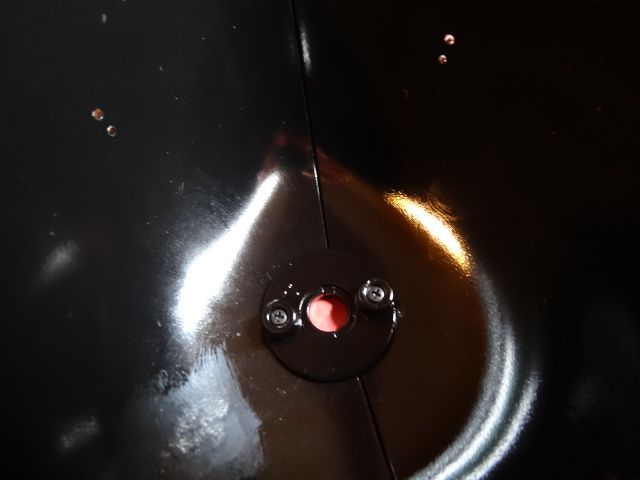 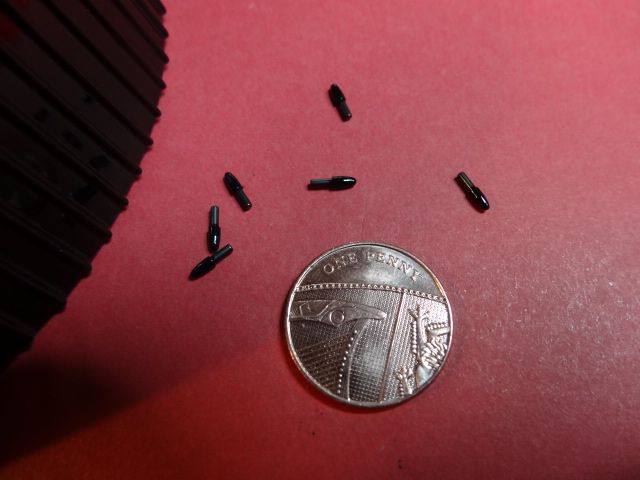 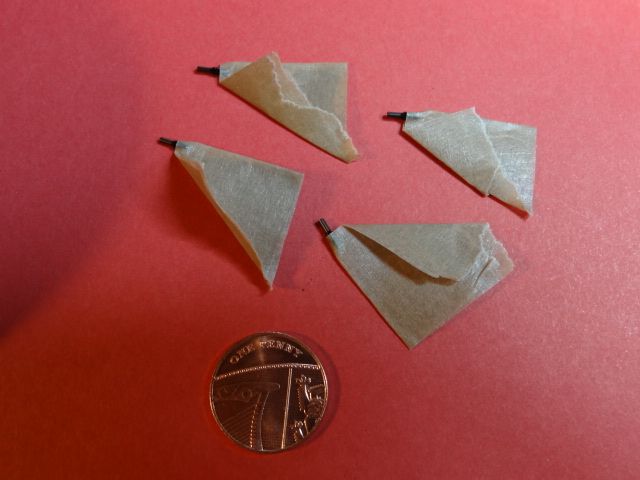 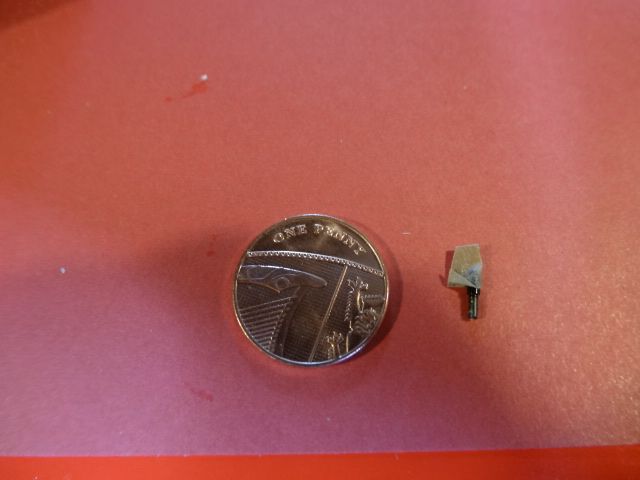 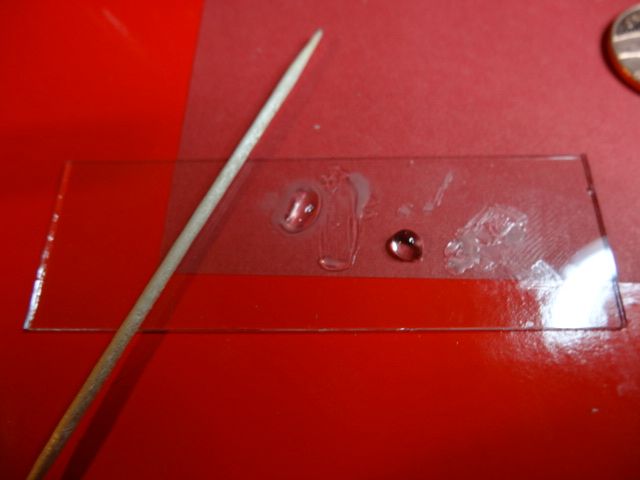 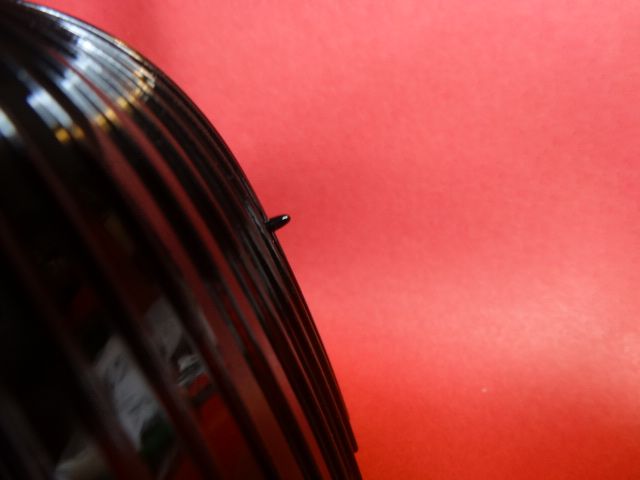 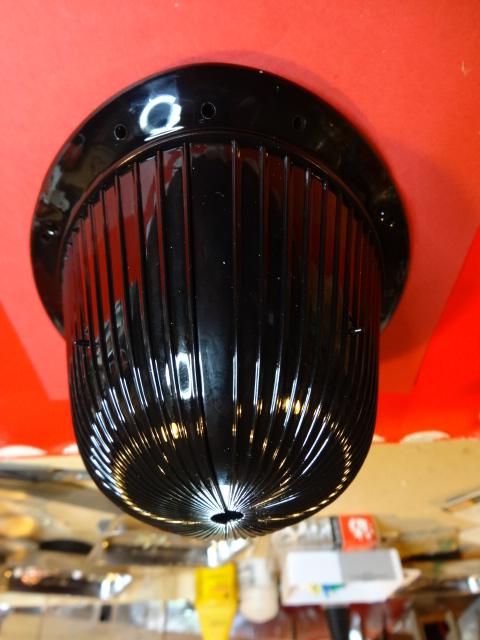
|
|
|
 Rank: Master       Groups: Registered
Joined: 05/09/2012 Posts: 1,400 Points: 4,690 Location: Beaminster, Dorset
|
Starting the Tassets (Kusazuri) The First Stage is to add the Leather Backing to each Plate. The Leather Pieces are pre-glued with a contact adhesive and it's very strong so great care needs to be taken to align them carefully with the holes, any misalignment will make the threading of the Silk Cords difficult. Then the Silk Cords need to be prepared with thread-able ends, this is done with PVA Glue, but care needs to be taken not to use too much as the holes are quite small. Then the Plates are laced together using the Lacing Plan provided, this is not a job to rush otherwise all kinds of tangles will result. The Silk Lace frays quite easily and will probably not allow a lot of unthreading before looking quite tatty, so it's best to go slowly and get it right the first time. I am using White Cotton Gloves for the Assembly as the Metal Plates are Fingerprint Magnets. 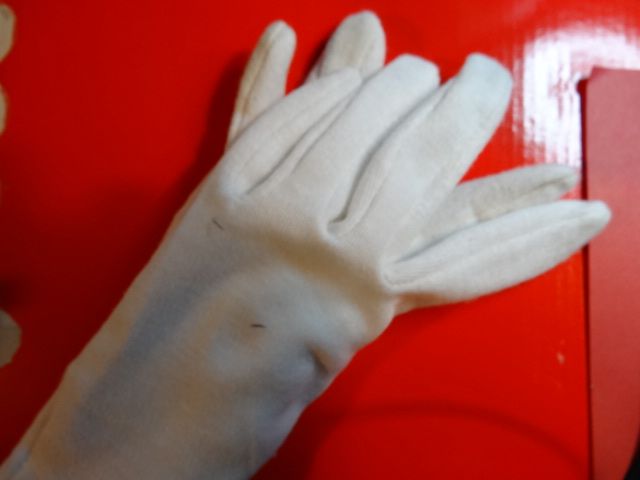 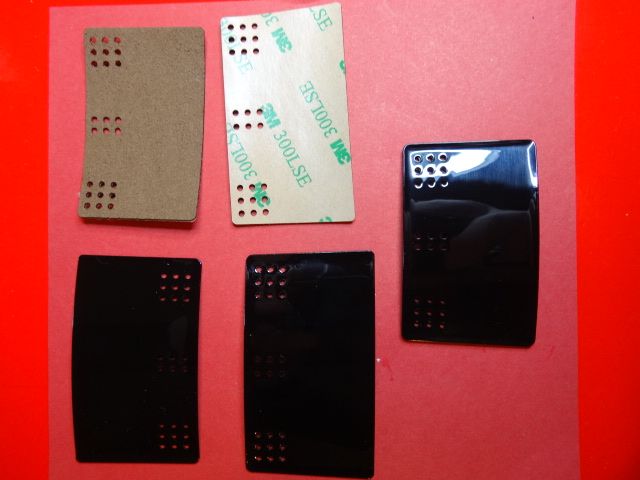 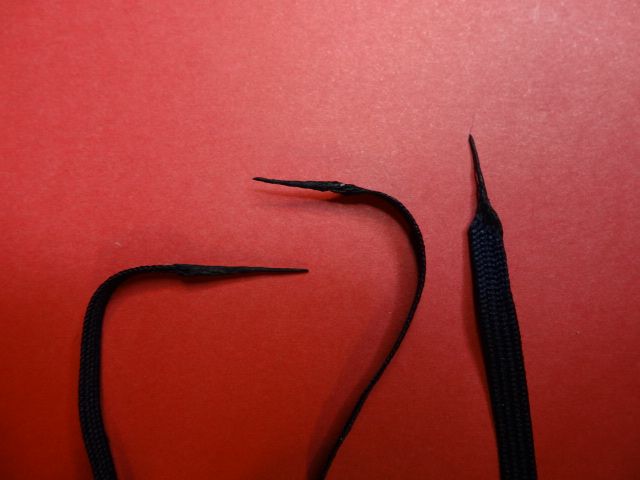 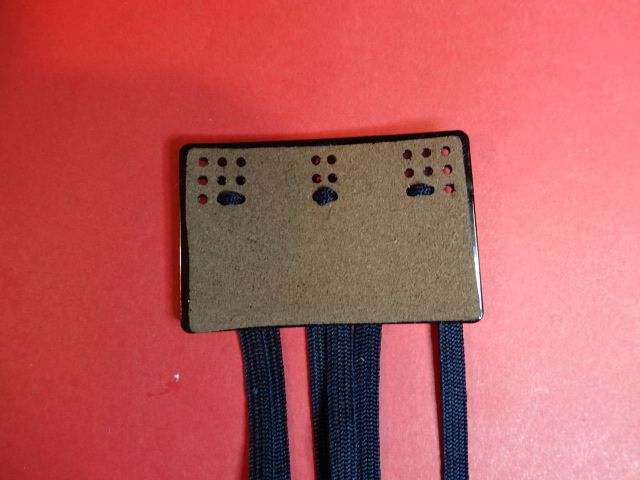 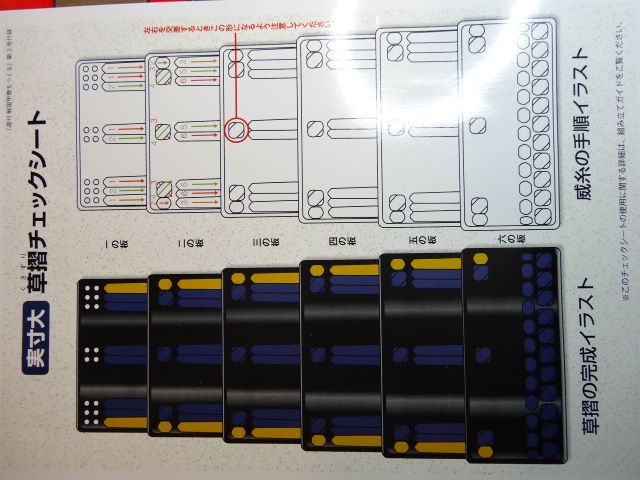 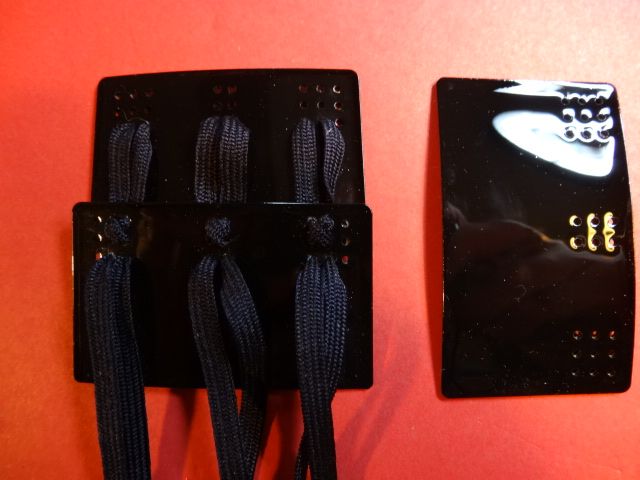 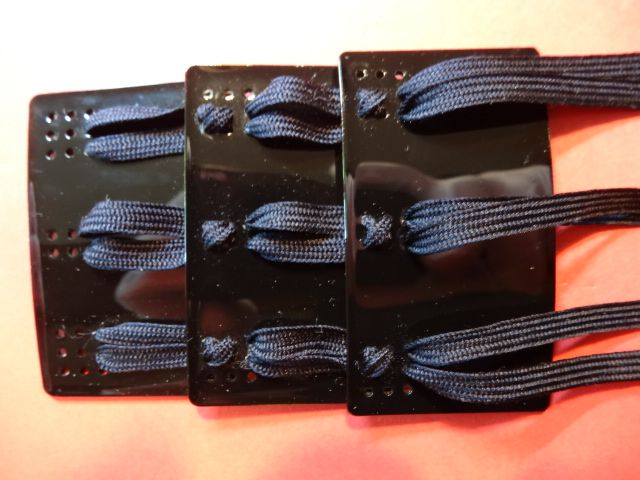
|
|
|
 Rank: Pro Groups: Joined: 24/08/2009 Posts: 48,827 Points: -13,348
|
Nicely done Andy 
Just so you know, there are 11 tasset panels in total to make up, each made up of 6 individual tasset sections. Its important that the overall length for all of them is the same and also the individual tasset plate spacing's., the lacing is the same for all.
|
|
|
 Rank: Master       Groups: Registered
Joined: 05/09/2012 Posts: 1,400 Points: 4,690 Location: Beaminster, Dorset
|
Tomick wrote:Nicely done Andy 
Just so you know, there are 11 tasset panels in total to make up, each made up of 6 individual tasset sections. Its important that the overall length for all of them is the same and also the individual tasset plate spacing's., the lacing is the same for all. Thanks Mr T  I knew there were a few of the Tasset Panels, but I didn't realise that it was Eleven   . Plus a good point about the length, this needs to be got right as you assemble, as pulling the Lacing to adjust afterwards is not easy.
|
|
|
|
|
 Hi Andy The lacing is going to be the major part of this build all those valleys and mountains  ,looking good so far regards Andy  Current builds:-C57,Zero, Lamborghini Countach, Caldercraft HMS Agamemnon,Robi,R2-D2, MFH Cobra .
|
|
|
 Rank: Super-Elite      Groups: Registered
Joined: 24/04/2010 Posts: 5,787 Points: 17,662 Location: Stafford, United Kingdom
|
Hi Andy, a good start to the project  Top job. all the best Mike MWG BUILD DIARIES: HMS VICTORY, SOVEREIGN OF THE SEAS, SAN FRANCISCO II, HMS HOOD, HMS ENDEAVOUR LONGBOAT, HMS VICTORY X-SECTION, 007 DB5, NISSAN GTR, CUTTY SARK, RB7, AKAGI, BARK HMS ENDEAVOUR, HUMMER H1, MITSUBISHI ZERO.
|
|
|
 Rank: Master       Groups: Registered
Joined: 05/09/2012 Posts: 1,400 Points: 4,690 Location: Beaminster, Dorset
|
arpurchase wrote: Hi Andy The lacing is going to be the major part of this build all those valleys and mountains  ,looking good so far regards Andy  Thanks Andy, this one's not quite as easy as it looks, is it. But it's going to look stunning when finished, a real conversation piece I think. All the Materials have the look and feel of the real thing, I'm finding it really enjoyable and very different to anything I've built before.
|
|
|
 Rank: Master       Groups: Registered
Joined: 05/09/2012 Posts: 1,400 Points: 4,690 Location: Beaminster, Dorset
|
MWG wrote:Hi Andy, a good start to the project  Top job. all the best Mike Thanks Mike 
|
|
|
 Rank: Master       Groups: Registered
Joined: 05/09/2012 Posts: 1,400 Points: 4,690 Location: Beaminster, Dorset
|
1st Tasset FinishedThis took a lot longer than I expected and whilst appearing superficially easy, required a lot of time and patience to get it looking right. Two things have to be done carefully, first getting the Silk Laces to the right length between Plates and ensuring that the Laces emerge to the front with a Mountain Fold rather than a Valley Fold. I also found that dilute PVA was better for sealing the various knots. 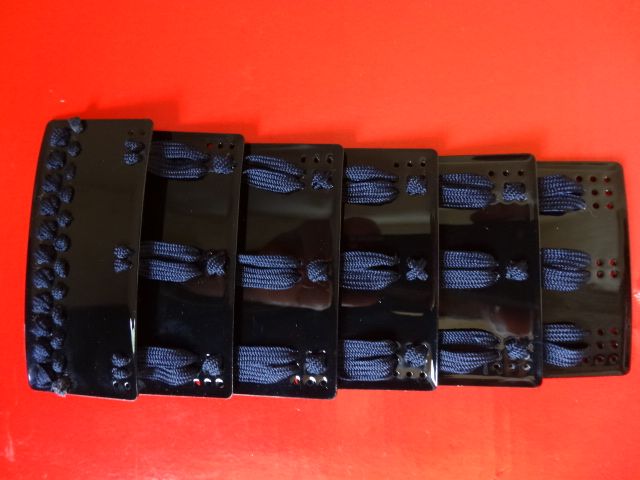 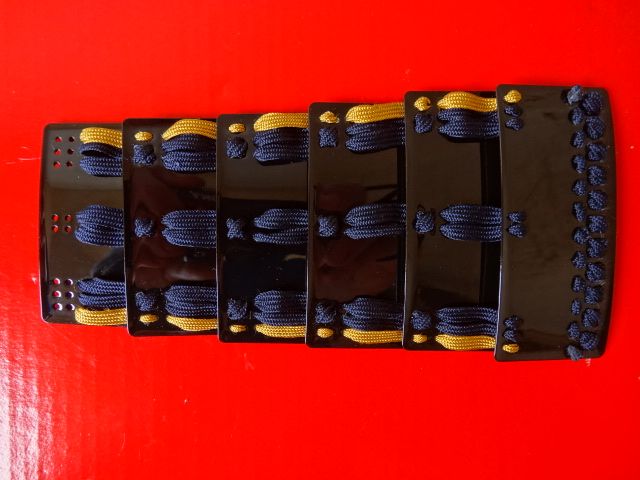
|
|
|
 Rank: Pro Groups: Joined: 24/08/2009 Posts: 48,827 Points: -13,348
|
Very nice work Andy and the point you made about it being not as easy as it looks is actually a very valid point, but because you have obviously taken time to get this right with everything looking neat and even, it somehow gives the impression to the viewer of it being easy to do - which it ain't!!!
Testament to your skill really I suppose - well done on a nice looking build Andy!!  
Kev 
|
|
|
 Rank: Master    Groups: Registered
Joined: 15/04/2010 Posts: 1,266 Points: 3,841 Location: The Quantock Hills,Somerset
|
Looks superb,my hat goes off to all of you doing this build,I can't even tie my shoelaces these days so this would be impossible although it is very beautiful. Rob Nolli Illigitimi Carborundum!!!Current Builds: HMS Victory, SV Thermopylae
|
|
|
|
|
Very nice indeed Andy...   .. I do enjoy following your work no matter what your are building..... Well done....   Regards Alan
|
|
|
 Rank: Master       Groups: Registered
Joined: 05/09/2012 Posts: 1,400 Points: 4,690 Location: Beaminster, Dorset
|
|
|
|
 Rank: Master       Groups: Registered
Joined: 05/09/2012 Posts: 1,400 Points: 4,690 Location: Beaminster, Dorset
|
Dontshootme wrote:Looks superb,my hat goes off to all of you doing this build,I can't even tie my shoelaces these days so this would be impossible although it is very beautiful. Thanks Rob, it does have a really good look about it. The Wife is most impressed, but you certainly need to be able to tie knots.
|
|
|
 Rank: Master       Groups: Registered
Joined: 05/09/2012 Posts: 1,400 Points: 4,690 Location: Beaminster, Dorset
|
Gandale wrote:Very nice indeed Andy...   .. I do enjoy following your work no matter what your are building..... Well done....   Regards Alan Thanks Alan, I noticed you've decided to add the Santissima Trinidad to your Fleet, she looks a beauty.
|
|
|
|
|
Hi Andy, looking good - out of interest how big is the armour? “Whenever you find yourself on the side of the majority, it is time to pause and reflect.”
-Mark Twain
|
|
|
 Rank: Master       Groups: Registered
Joined: 05/09/2012 Posts: 1,400 Points: 4,690 Location: Beaminster, Dorset
|
jase wrote:Hi Andy, looking good - out of interest how big is the armour? Thanks Jase. It's quite big, about 800mm High.
|
|
|
 Rank: Master       Groups: Registered
Joined: 05/09/2012 Posts: 1,400 Points: 4,690 Location: Beaminster, Dorset
|
|
|
|
|
Guest
|